Note: This is only available if you have not printed or posted the cheque for the invoice. Following this guide will allow you to cancel the invoice outright, or send it back to the Invoice Entry batch so you can modify it.
If you have printed the cheque for the invoices, you will need to follow the instructions here: Cancel a Cheque
This task can be done either in the Invoice Inquiry or Vendor Master Maintenance window.
1. Find and select the invoice you would like to cancel. Then click the Cancel Re-Issue Invoice button.

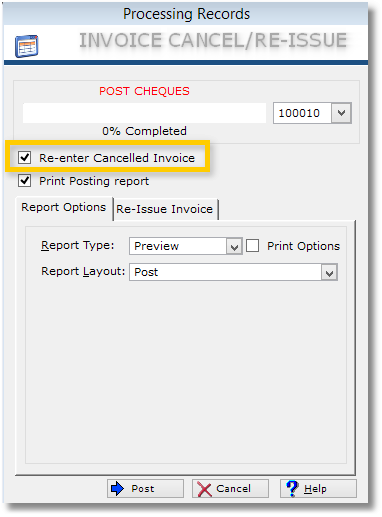
2. This will bring up the Invoice Cancel/Re-issue window. You have two options here on how to handle the cancelled Invoice:
If you want to re-issue and modify the Invoice, tick the Re-enter Canceled Invoice check box.
This will send the Invoice back to the Invoice Cheque Entry module, where you can then edit the original Invoice and post it down with any corrections.
If you simply to cancel the Invoice then untick the checkbox Re-Enter Cancelled Invoice. The Invoice will then be cancelled and reversed.

3. Click the Post button. Your Invoice is then cancelled and all the invoices and the distributions associated with the Invoice will be reversed.
4. In the Accounts Payable > Invoice Cheque Entry. Invoice(s) that were ticked to be re-entered will appear in the Invoice Entry Batch. Amounts, descriptions, account codes and any other field can then be changed and it can be posted down again.